

Why Is Your Bike Gear Skipping Under Load?
A gear that jumps just as you put power through the pedals is more than an irritation. Bike gear skipping can break your rhythm on a steep climb, unsettle the bike during a sprint and, in severe cases, leave you without drive when you need it most. The good news is that the cause is usually traceable with a few methodical checks - and many fixes need only basic, professional-grade tools.
Start by noticing when the skip happens
The moment and location of the skip provide the best clue. If it happens only in one or two sprockets at the back, a worn cassette or inaccurate indexing is more likely than a general drivetrain problem. If it occurs in every gear, look first at chain condition, cable tension, derailleur alignment or a contaminated drivetrain.
Pay attention to whether the chain jumps up or down the cassette while you are shifting, or whether it seems to slip forward over the teeth under hard pedalling. Poor shifting is commonly an adjustment issue. A sudden lurch under load, especially in a favourite climbing gear, often points to a worn chain and cassette pairing.
For riders using a front derailleur, a skip that appears only on the inner or outer chainring may come from chainring wear, front derailleur setup or an incorrectly routed chain. On 1x drivetrains, inspect the narrow-wide chainring carefully: hooked, flattened or damaged teeth can struggle to hold the chain on rough ground and under torque.
Clean before you diagnose
A black, gritty chain can hide the real issue. Road spray, old lubricant and trail grit build a grinding paste around the rollers and sprocket teeth. This accelerates wear and can stop the chain seating correctly, particularly on narrower 10, 11 and 12-speed systems.
Degrease the chain, cassette, jockey wheels and chainrings, then dry and lubricate the chain with a suitable bike-specific lubricant. Wipe away excess rather than leaving it to collect dirt. A clean drivetrain will not reverse worn parts, but it makes inspection more accurate and often improves shift quality immediately.
While cleaning, turn the cranks backwards and watch the chain pass through the derailleur. Stiff links are easy to spot because they flick or hesitate as they pass around a jockey wheel. A stiff link can produce a regular click and poor shifting that feels remarkably like a cassette problem. Check the quick link too, ensuring it is the correct speed-specific type and fully engaged.
Check chain wear first
The chain is usually the first component to wear because its pins and rollers move thousands of times on every ride. As the chain wears, its pitch increases fractionally. It no longer matches the cassette teeth precisely, so it starts to climb the tooth faces instead of settling into the gaps. Under gentle riding it may feel acceptable; under a hard effort, it can jump.
A dedicated chain wear gauge is the quickest, most reliable way to assess it. Follow the gauge manufacturer’s markings and your drivetrain maker’s recommendation. As a broad rule, modern 11 and 12-speed chains should be checked early and replaced before wear becomes significant. Waiting until a chain is visibly poor often means the cassette has worn to match it.
For this check, the Velo-Tool Professional Chain Wear Tool - Precision 304 Stainless Steel Gauge has 0.5% and 0.75% wear indicators, helping you measure chain wear rather than judge it by appearance. Use the replacement threshold specified by your drivetrain manufacturer.
Do not assume a new chain alone will cure bike gear skipping on an older drivetrain. Fit a fresh chain to a heavily worn cassette and it may skip immediately, usually in the sprockets used most often. In that situation, replace the cassette and chain together. If the chainring teeth are also worn, replace the chainring at the same time for a properly matched drivetrain.
Set rear derailleur indexing with precision
If the chain and cassette are within service limits, indexing is the next place to look. Cable-operated rear derailleurs rely on small, accurate cable movements. A quarter-turn at the barrel adjuster can make the difference between a clean shift and a chain that chatters against the next sprocket.
Shift into a middle rear sprocket and listen as you pedal the bike in a stand or with the rear wheel safely off the ground. If the chain hesitates when shifting towards larger sprockets, add a little cable tension by turning the barrel adjuster anticlockwise. If it hesitates travelling towards smaller sprockets, reduce tension clockwise. Make one small adjustment at a time, then shift through the full cassette.
Do not use the barrel adjuster to compensate for a bent derailleur hanger. After a knock, a bike fall or leaning the drivetrain side against a wall, the hanger can move by a tiny amount. On modern wide-range cassettes, that tiny misalignment is enough to make selected gears noisy or unreliable. A derailleur hanger alignment gauge gives the accurate answer; if you do not have one, a bike workshop can check it quickly.
Also inspect the gear cable and housing. Frayed cable strands, corrosion at the cable entry point and tight bends in the outer housing all add friction. Symptoms often include shifts that are slow in one direction, inconsistent after wet rides or temporarily improved by turning the barrel adjuster. Replacing cable and housing is an inexpensive precision fix, not a last resort.
Inspect the cassette, chainring and derailleur
Look at the cassette from the side. Teeth naturally vary in shape on many modern cassettes because shift ramps are engineered into the design, so not every unusual-looking tooth is damage. What you are looking for is a cluster of teeth that are visibly hooked, sharp or worn into a wave-like profile, especially on regularly used sprockets.
Check that the cassette lockring is tight and that there is no side-to-side movement in the sprockets. A loose cassette can produce poor shifting and noise that feels like a worn drivetrain. The rear wheel must also sit fully into the dropouts or axle mounts. A wheel that is not correctly seated changes derailleur alignment immediately.
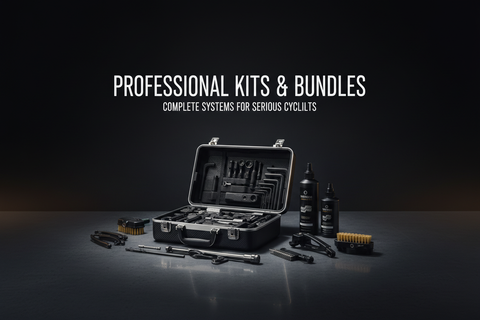
If inspection confirms that the cassette needs replacing, the Velo-Tool Professional Rear Cassette Removal Tool Kit - Complete Chain Whip & Lockring Set includes a chain whip and two lockring removal tools for the job. Check the tool fit against your cassette system before starting, and follow the component manufacturer’s installation and torque instructions.
Next, hold each derailleur jockey wheel and feel for excessive play or rough bearings. Worn pulley wheels can allow the chain to wander, while clogged teeth can prevent smooth chain engagement. Check the derailleur clutch, if fitted, is switched on for riding and provides meaningful chain tension. A weak clutch is especially noticeable on mountain bikes and gravel bikes over rough surfaces.
For front shifting problems, inspect the front derailleur cage for alignment and clearance. The outer cage plate should sit parallel to the chainring and at the correct height. Cable tension, limit screws and electronic derailleur setup should be adjusted according to the drivetrain manufacturer’s procedure rather than guessed at.
A practical repair order
Avoid replacing components at random. Start with cleaning and lubrication, then measure the chain. Check the rear wheel seating, cassette security, stiff links and visible damage. Only then adjust indexing. If shifting remains poor in specific gears, investigate hanger alignment and cable condition before ordering a cassette.
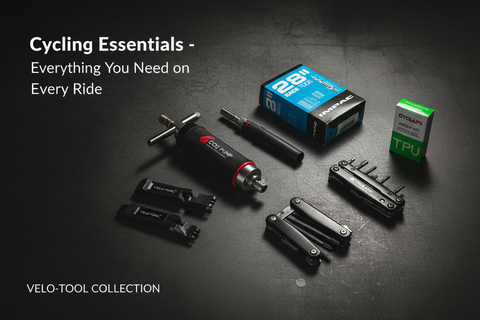
For a home repair, a compact chain tool, chain wear gauge, tyre levers for roadside incidents and a reliable torque tool cover far more than emergencies. Torque matters on derailleur mounting bolts, hanger bolts and many modern components, particularly carbon frames and lightweight hardware. Tightening by feel can create a different problem from the one you set out to solve.
If the chain has snapped or the drivetrain starts skipping badly during a ride, do not keep forcing the pedals. Shift to an easier gear if possible, stop somewhere safe and inspect the chain and derailleur. Continuing to pedal through a severe skip can damage the cassette, bend the derailleur or pull it into the rear wheel. A compact chain tool and correctly sized quick link are small items that can save a long walk home.
When replacement is the sensible option
A worn chain is a consumable, and replacing it on time is one of the best-value maintenance jobs on any bike. It protects the more expensive cassette and chainrings while keeping pedalling efficient. Riders who train in wet UK conditions, use the bike for commuting or regularly ride gritty bridleways should check wear more often than fair-weather riders.
Replace parts as a matched system when the evidence supports it. A new chain on a good cassette is efficient. A new chain on a worn cassette is often frustrating. Likewise, a derailleur adjusted around a bent hanger will never deliver the crisp, repeatable shifts the drivetrain was designed to provide.
A quiet drivetrain that stays in gear is not just faster and more satisfying - it gives you confidence to put power down when the road ramps up or the trail gets rough. Give it a regular clean, measure the chain before it becomes a problem and carry the compact essentials that let a small fault stay small.


Post Comment